Phantom Blade Zero combat guide
By the Blade Zero Wiki editors
Updated
A Phantom Blade Zero combat guide in one loop: chip the guard with Standard attacks, parry blue flashes, dodge red ones, and spend Sha-Chi only when the gauge breaks. The Steam store page describes dodging, deflecting, countering and striking as one seamless chain, so every fight rewards reading the cue first.
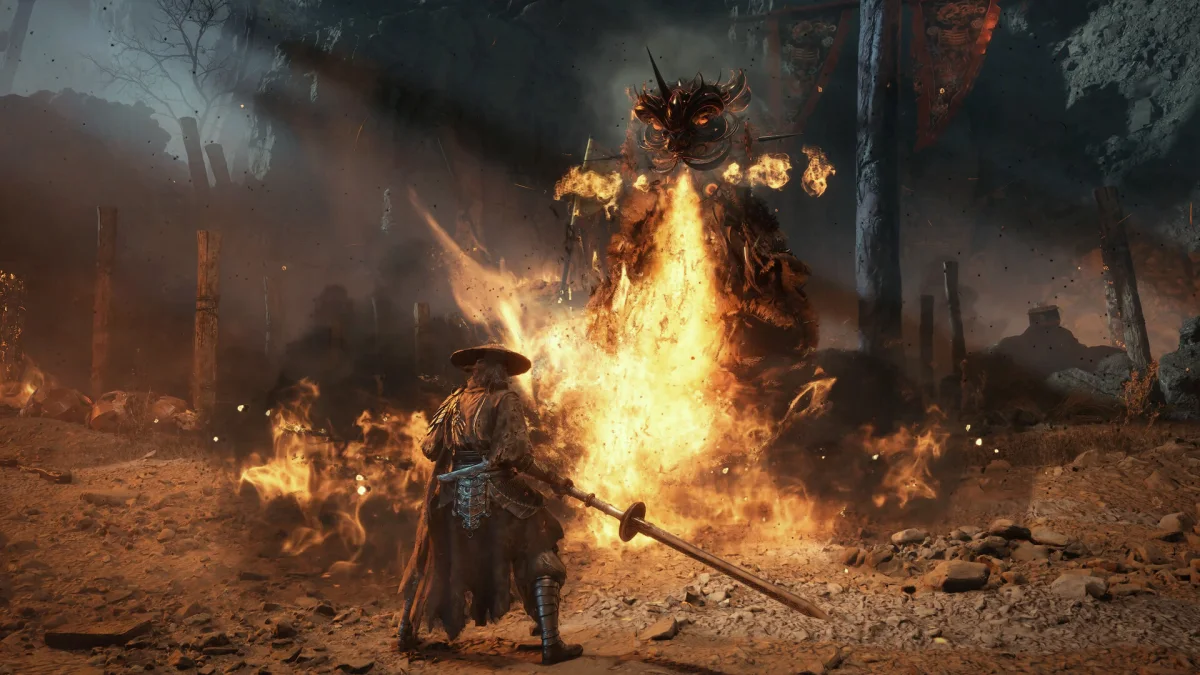
How does the Phantom Blade Zero combat guide loop work?
The Phantom Blade Zero combat guide loop is one exchange: pressure the guard, answer the cue, then punish. The Steam store page calls it a seamless chain of dodging, deflecting, countering and striking, and Sha-Chi decides how many heavy attacks you can afford before defence stops being an option.
Sha-Chi is the resource you spend while attacking and guarding. Regular attacks cost nothing, stronger attacks draw on it, and holding a guard stance or blocking a hit drains the same pool, so saving a Sha-Chi combo for an opening keeps some of the gauge free for defence.
Defence and the enemy's gauge are the other half of the loop. A parry costs no Sha-Chi, drains the attacker's gauge and can cut a combo short, while red-flash attacks call for a dodge, so the two cues need different answers.
What do the combat reference tables cover?
The Phantom Blade Zero combat guide keeps six tables: 12 control inputs, seven Sha-Chi and cue states, ten upgrade milestones, five abilities, five recovery entries and ten tips. Each row names the site it came from, and the date column records when the figures were last checked.
| Topic | Entries | Scope | Last updated |
|---|---|---|---|
| Combat controls | 12 inputs | Every action the fan wiki lists, with input, gauge effect and the buttons the sites disagree on | 2026-11-02 |
| Sha-Chi and enemy cues | 7 states | Your gauge, the enemy gauge, guard break, blue and red flashes, stagger window | 2026-11-02 |
| Weapon upgrade milestones | 10 milestones | Level 5, 10, 15 and 25 unlocks for two named blades | 2026-11-02 |
| Combat abilities | 5 entries | Skill requirement, Blackstone and Skill Point costs, and the payoff | 2026-11-02 |
| Recovery and stealth | 5 entries | Medicine, Bells, Remnant Sparks, assassinations and executions | 2026-11-02 |
| Press and wiki tips | 10 tips | One tip per row, with the site that stated it | 2026-11-02 |
What should you prepare before a Phantom Blade Zero boss fight?
Before a boss, the Phantom Blade Zero combat guide asks for two things: balance the Sha-Chi you spend on heavy attacks against what you need to guard, and learn the attack cues before adding damage. Short combos are the safer way to learn timing, because a boss's recovery is where a longer string pays off.
A heavy attack may deal more damage and disrupt a guard, but spending stronger attacks without regard for defence leaves less Sha-Chi ready when you need to guard. The boss list keeps the encounters in order, so it is worth knowing which cue pattern comes next.
Extend a combo during the boss's recovery rather than while it winds up. Mobalytics recommends that short-combo approach for learning a fight and lengthening it only once the recovery window is familiar.
A well-timed parry or dodge can also trigger Ghoststep, moving you behind the enemy for a quick counter. The PC Gamer tips article adds the cue rule: parry blue cues, dodge red ones, and a mistimed block drains Sha-Chi.
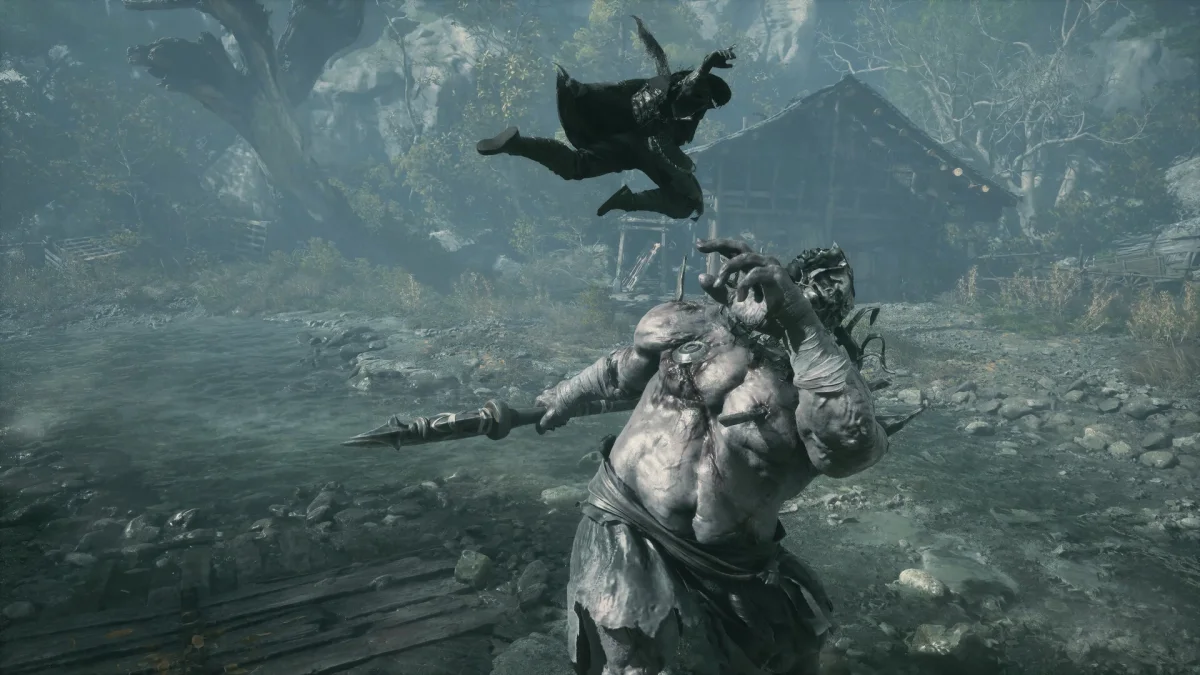
What opens an enemy up in Phantom Blade Zero combat?
An opening comes when an enemy's Sha-Chi empties and its guard breaks, leaving it open to a high-damage combo or an Execution. The Phantom Blade Zero combat guide rule is to combine well-timed defence with attacks on the guard, a break the Phantom Blade Zero Combat fan wiki calls the moment to capitalise on.
Weapon switching can extend pressure while changing your resource position, because swapping main weapons immediately refills Sha-Chi. That refill lets you continue a combo or keep the resource for defence, and the Steam store page frames combat as connected actions, so a swap belongs in the offence without losing sight of defence.
Phantom Edges are another way to exploit a vulnerable target: heavy damage to both health and Sha-Chi, and especially effective against staggered enemies. The Steam page lists more than 20 unique Phantom Edges, while Game8 explains their damage role, which makes one worth holding for a stagger.
- Use light attacks when you want quick strikes that deal less damage.
- Use heavy attacks for more damage and the chance to break a guard or knock an enemy off balance.
- Parry just before an attack lands to deplete enemy Sha-Chi; dodge red-flash attacks.
- After a guard break, use the opening for a high-damage combo or an Execution.
- Consider a Phantom Edge when an enemy is staggered, since it damages both health and Sha-Chi heavily.
Which Phantom Blade Zero combat controls should you learn first?
A Phantom Blade Zero combat guide can be pared to three inputs: parry, dodge and the Sha-Chi attack. Each row below adds the PlayStation input, what it does to the gauges, and where Game8 and the fan wiki list different buttons, and the controls page covers keyboard and controller bindings.
| Action | Type | Input (PlayStation) | Effect | Notes |
|---|---|---|---|---|
| Target lock-on | Command | R3 | Keeps an enemy in focus during a fight | Game8: tilt the right stick to switch to another enemy while locked on |
| Guard stance | Defense | Hold L1 and move with the left stick | Lets you move in a defensive posture | Holding it drains Sha-Chi |
| Block | Defense | Hold L1 through an enemy combo | Negates incoming damage | Each hit blocked costs extra Sha-Chi |
| Parry | Defense | Tap L1 just before an attack lands | Deflects the strike without spending your Sha-Chi | Heavily depletes the attacker's Sha-Chi |
| Backstep dodge | Defense | R1 (stick neutral) | Quickly evades backward out of close danger | Game8 lists Circle for dodge; the fan wiki lists R1 |
| Directional dodge | Defense | Left stick plus R1 | Lunges in the chosen direction to evade or reposition | — |
| Light attack (Standard Combo) | Attack | Square | Builds steady pressure and chips the guard | Does not use Sha-Chi |
| Heavy attack (Sha-Chi Combo) | Attack | Triangle | Massive damage; can break guards and knock enemies off balance | Spends your Sha-Chi; slower than light attacks |
| Phantom Edge attack | Special | R2 (fan wiki); Game8 lists right on the D-pad | Heavy damage to enemy health and Sha-Chi | Consumes Remnant Spark; the two sources list different buttons |
| Power Surge | Special | L2 | Deals heavy damage to enemy health and Sha-Chi | Costs Sha-Chi; the fan wiki says 1 Sha-Chi Essence per use |
| Swap main weapon | Utility | D-pad left (Game8) | Refills Sha-Chi right away | Brief cooldown on the fan wiki; Soul can carry only a set number of main weapons (Game8) |
| Use item | Utility | D-pad up or down (Game8) | Consumes the equipped item quickly | Works in and out of combat |
How do Sha-Chi and enemy cues decide a fight?
Sha-Chi decides how long you can keep attacking and guarding. What a Phantom Blade Zero combat guide has to add is the arithmetic: guarding spends your gauge, parries spend the enemy's, and a staggered enemy, open to heavy attacks and Phantom Edges, is what you get when that gauge empties.
| Mechanic | Type | Trigger or cue | Effect | Notes |
|---|---|---|---|---|
| Sha-Chi gauge | Resource | Yellow gauge beside HP for you and for enemies | Pays for Sha-Chi combos, guarding and Power Surge | Guard Stance and blocks drain it; parries do not |
| Enemy Sha-Chi | Mechanic | Combo damage and successful parries | Depletes the enemy's Sha-Chi gauge | Sets up a guard break |
| Guard break | Enemy state | Enemy Sha-Chi fully exhausted | Enemy is staggered and cannot retaliate until the gauge recovers | Opens a window for a high-damage combo or an Execution |
| Blue-flash attack | Enemy cue | Blue flash before impact | Parry just before it lands | Severely damages enemy Sha-Chi; PC Gamer: hit the left bumper |
| Red-flash attack | Enemy cue | Red flash before impact | Dodge just before it connects | Cannot be blocked (fan wiki); PC Gamer: hit the right bumper |
| Smoky black aura | Enemy cue | Peng Meng's smoky black aura | Dodge it instead of blocking | PC Gamer calls these stamina-draining attacks |
| Staggered enemy | Enemy state | Enemy Sha-Chi fully depleted | Immobile and takes increased damage | Game8: a good moment to use a Phantom Edge |
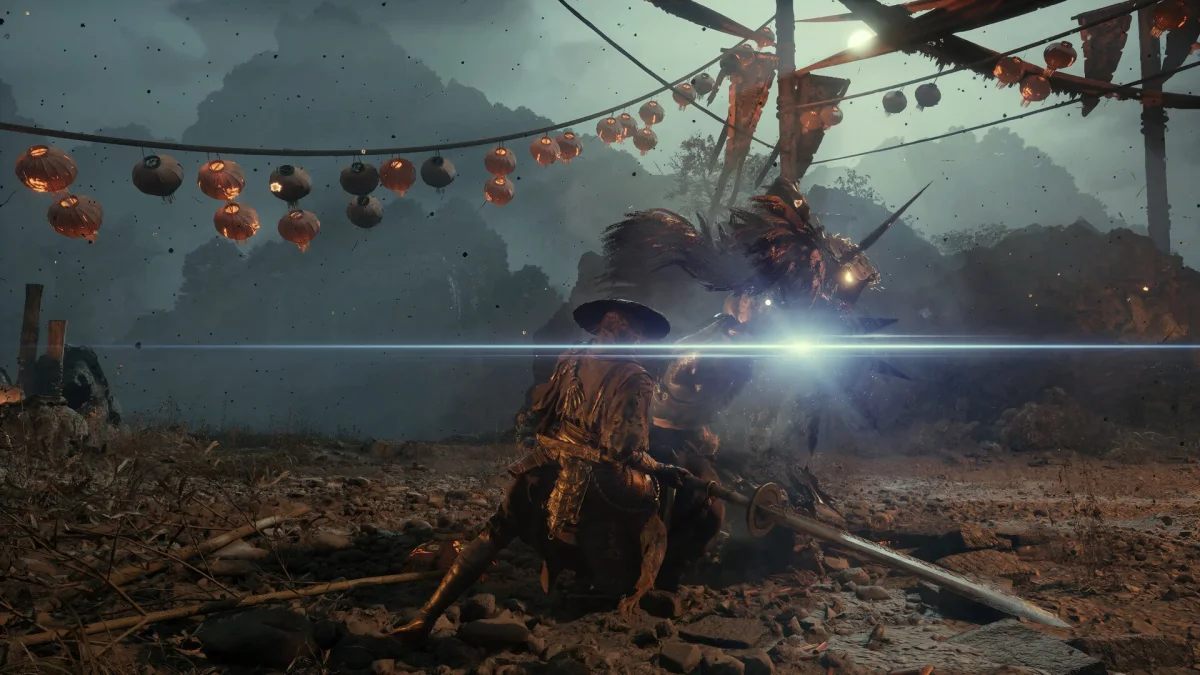
Which weapon upgrades change Phantom Blade Zero combat?
When a Phantom Blade Zero combat guide gets to weapons, the point is that they set your moveset, attack speed and guard-break rating, and that upgrade milestones add passives or new moves. Every five upgrade levels a weapon or Phantom Edge gains something, so the milestones below change how a fight is fought rather than only its damage.
Two blades show what the milestones are worth. The Wooden Sanguine leans on parries and Perfect Dodges, while the Scarlet Wraithblade turns its explosions into extra Sha-Chi damage, and the full weapon list covers the rest of the arsenal.
| Name | Type | How to get or where | Effect | Notes |
|---|---|---|---|---|
| Weapon switching | System | Swap main weapons mid-combat (D-pad left, Game8) | Extends combos and adapts to enemy types | Brief cooldown, which some abilities shorten |
| Weapon upgrades | System | Crafting materials, e.g. Broadplate Metal and Solvent for the Scarlet Wraithblade | Raises base damage and guard-break values | Milestones add unique effects |
| Reforge | System | Refund materials and Remnant Dust from an upgraded weapon or Phantom Edge | Free up to Level 10 | After Level 10 it costs a reforge talisman (PC Gamer) |
| Level milestones | System | Every five upgrade levels | A weapon or Phantom Edge gains a new passive or active ability | PC Gamer |
| Wooden Sanguine | One-handed, Lv. 5 | Upgrade to Level 5 | Back to Basics: a parry depletes more of the enemy's Sha-Chi | — |
| Wooden Sanguine | Lv. 10 | Upgrade to Level 10 | Falling Petal Strike Lv. 1: more damage to guard-broken enemies | — |
| Wooden Sanguine | Lv. 15 | Upgrade to Level 15 | A Light Touch: a Perfect Dodge restores a little Sha-Chi | — |
| Wooden Sanguine | Lv. 25 | Upgrade to Level 25 | Basic Forms: a timed Square or Triangle press while the blade glows runs a Perfect Combo | — |
| Scarlet Wraithblade | Lv. 10 | Upgrade to Level 10 | Hidden Thorns: more explosion damage and more enemy Sha-Chi depletion | — |
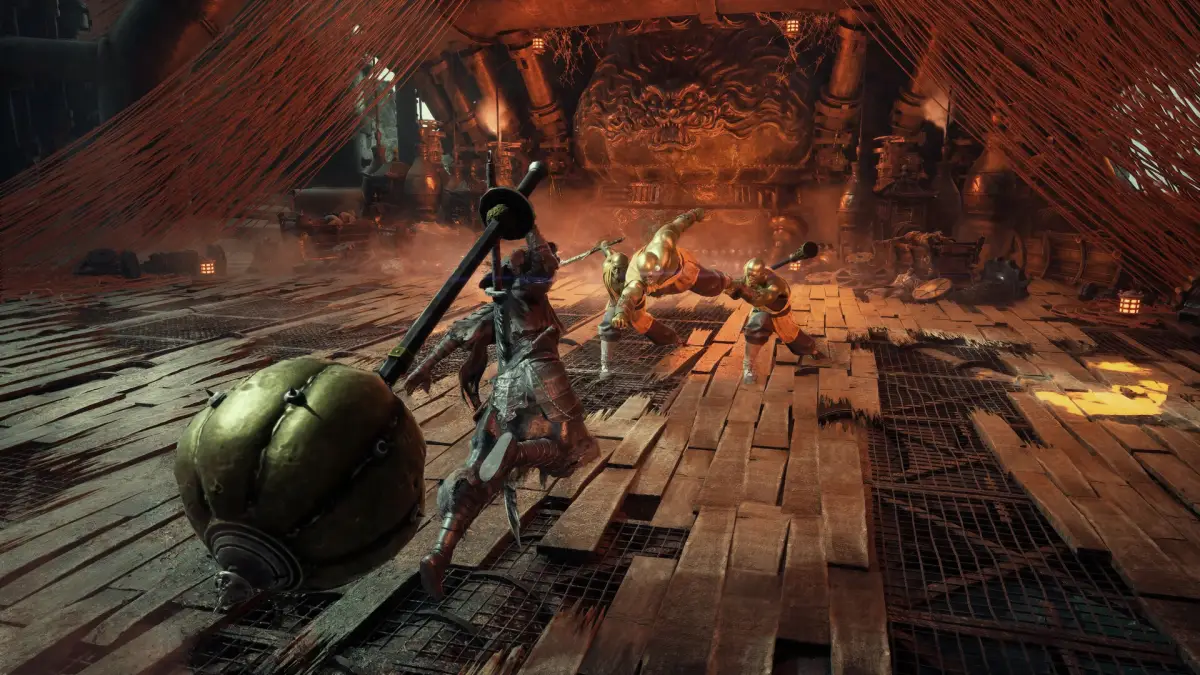
Which combat abilities are worth the Blackstones?
Abilities sit in the skill tree and unlock with Blackstones, Skill Points or a prerequisite skill. Redirect Force feeds the loop directly, restoring Sha-Chi whenever a parry or dodge lands, while Masterful Flow trims the swap cooldown that keeps the resource topped up, and both are cheaper than the higher-cost passives.
The rest are situational: Steady Composure turns a dodge or parry into a better chance of interrupting the next move.
| Ability | Type | Requirement | Effect | Notes |
|---|---|---|---|---|
| Redirect Force | Ability | Prerequisite skill and 2 Blackstones | Parrying or dodging an enemy attack restores Sha-Chi | — |
| Masterful Flow Lv. 1 | Ability | Prerequisite skill and 1 Blackstone | Cuts weapon swap cooldown by 2 seconds | — |
| Steady Composure | Ability | 5,000 Skill Points | After a dodge or parry, your next Standard Attack is more likely to interrupt the enemy's move | — |
| Endless Renewal Lv. 1 | Ability | Skill unlock | Assassinations and Executions restore a little HP and Sha-Chi | — |
| The Banyan's Heart | Upgrade item | Complete a combat trial | Needed for some ability upgrades | Five Banyan trees in the game; a few hearts can also be bought (PC Gamer) |
How do you heal and reset between fights?
For recovery, a Phantom Blade Zero combat guide needs two rules: Bells restore health and Medicine and refill Remnant Sparks, and resting does not respawn enemies, so a Bell is a reset rather than a risk. Medicine charges show on the HUD, and the medicine page covers the rest of the healing loop.
Remnant Sparks are the other half of it: they pay for Phantom Edge attacks and refill at a Bell, so a fight that burns several is a fight you start short. Stealth is the pre-fight version, opening on an unaware enemy.
| Name | Type | How to get or where | Effect | Notes |
|---|---|---|---|---|
| Medicine | Healing | Equip it, then use it with D-pad up or down (Game8) | Restores HP during combat | Charges show on the HUD; levelling it adds healing and uses (PC Gamer) |
| Bells | Rest point | Interact with a Bell while exploring | Fully restores HP and Medicine | Resting does not reset enemies (PC Gamer) |
| Remnant Spark | Resource | Refilled when you rest at a Bell | Spent on Phantom Edge attacks (R2) | PC Gamer: a cue on the enemy lets the Phantom Edge skip the spark cost |
| Stealth assassination | Stealth | Approach an unaware enemy | Lethal kill; can hit enemies grouped together | PC Gamer: you can follow up to assassinate a second nearby enemy |
| Execution | Finisher | After a guard break | High-damage finisher | Listed with the guard-break window |
Which Phantom Blade Zero combat tips matter most?
A Phantom Blade Zero combat guide should drill the tips that keep the loop intact: parry more than you dodge, swap weapons to refill Sha-Chi, and hold a Phantom Edge for a stagger. Every row below comes from Game8 or the PC Gamer tips article, with the site named in the last column.
| Tip | Type | When it applies | What it does | Notes |
|---|---|---|---|---|
| Parry more than you dodge | Tip | An enemy attack is about to land | A parry uses no Sha-Chi and depletes the attacker's | Game8: a parried opening move can cancel an enemy combo |
| Swap weapons to refill Sha-Chi | Tip | Mid-combat, or in an emergency | Refills Sha-Chi right away | Game8 |
| Use the terrain | Tip | Arenas with higher ground | Assassinate from above or shoot from range | Game8 |
| Use Phantom Edges on stagger | Tip | A staggered enemy | Heavy damage to health and Sha-Chi | Game8 |
| Red is right, blue is left | Tip | A red or blue flash | Red: dodge. Blue: parry | PC Gamer: hit both bumpers when unsure |
| Dodge smoky black attacks | Tip | Peng Meng's smoky black aura | Dodge instead of blocking to keep your Sha-Chi | PC Gamer |
| Use Sha-Chi combos after a parry | Tip | After parrying a red or blue cue, or after breaking an enemy's Sha-Chi | Deals more damage | PC Gamer: costs Sha-Chi |
| Attack constantly | Tip | Regular attacks | Chips down a boss's Sha-Chi without spending your own | PC Gamer |
| Come back to optional bosses | Tip | A fight that is too hard for now | You can return later; few points of no return | PC Gamer |
| Use weapons of different types | Tip | Carry a one-handed and a two-handed weapon | Each type uses its own upgrade material | PC Gamer |
So which habit should you build first in Phantom Blade Zero?
Our take: build the parry habit first, because it pays both ways, spending none of your Sha-Chi while taking a chunk off the enemy gauge. Advanced combat is a chain of small decisions, and the cue, defence, opening, follow-up order is the one to drill before adding weapon swaps.
The gear that helps is whatever keeps a combo string alive, because the enemy gauge is the real target, and the best builds page covers loadouts built that way.
For a Phantom Blade Zero combat guide, the settled takeaway is that offence and defence share one timing loop: heavy attacks disrupt guards but spend Sha-Chi, parries pressure an enemy while preserving yours, weapon swaps refill the resource, and boss recovery is the safer moment to extend a combo.
Frequently asked questions
How does combat work in Phantom Blade Zero?
Combat combines martial arts combos, Sha-Chi management, timed parries, dodges, and weapon switching. The actions flow together, so an attack, defence, counter, or swap can shape what you do next.
Where should a Phantom Blade Zero combat guide start?
Start with the three defensive inputs: parry, dodge and block. Parrying costs no Sha-Chi and drains the enemy gauge, dodging answers red-flash attacks, and blocking is the last resort because every blocked hit eats into your own gauge.
When should I parry or dodge in Phantom Blade Zero?
Parry just before an attack lands, and dodge red-flash attacks. PC Gamer describes parrying blue cues and dodging red ones; a mistimed block can drain Sha-Chi.
How do I break an enemy's guard in Phantom Blade Zero?
Deplete the enemy's Sha-Chi to guard-break it, then use the opening for a high-damage combo or an Execution. Parrying helps because it depletes enemy Sha-Chi without consuming your own.
How does weapon switching help in Phantom Blade Zero combat?
Swapping main weapons immediately refills Sha-Chi. That refill can support another combo or leave you with resource for defence, so the swap is what a Phantom Blade Zero combat guide means by keeping the exchange moving.
What are Phantom Edges used for in Phantom Blade Zero?
Phantom Edges deal heavy damage to enemy health and Sha-Chi, and they are especially effective against staggered enemies. The game features more than 20 unique Phantom Edges, giving you several options for that kind of opening.
What is the main lesson in a Phantom Blade Zero combat guide?
Read the cue, choose the matching defence, and use the opening that follows. A Phantom Blade Zero combat guide approach is to manage Sha-Chi across attacks and guarding, then extend combos when an enemy is recovering or has been staggered.
Sources
- Combat | Phantom Blade Zero checked 2026-11-02
- Advanced Combat Guide | Phantom Blade Zero (PBZ)|Game8 checked 2026-11-02
- Phantom Blade Zero on Steam checked 2026-11-02
- I've spent over 50 hours in Phantom Blade Zero—here are my top 20 tips to conquer the Wulin | PC Gamer checked 2026-11-02
- Phantom Blade Zero Combat Guide and Tips checked 2026-11-02